Since not all platforms and products have the same design resolution requirements, it is difficult for users to make their designs available on all marketplaces and products. To make this easier, we automatically convert your source files to other formats when needed. We recommend a resolution of 4500px x 5400px, which is the usual Merch By Amazon T-Shirt format. We convert your designs for MBA, Displate, Society6 and Kindle Direct Publishing.
The conversion is done during the upload process but you can take a look at the final product in advance to tweak your settings or check if the converted design meets your expectations. To do that, follow these steps:
Open the converter preview
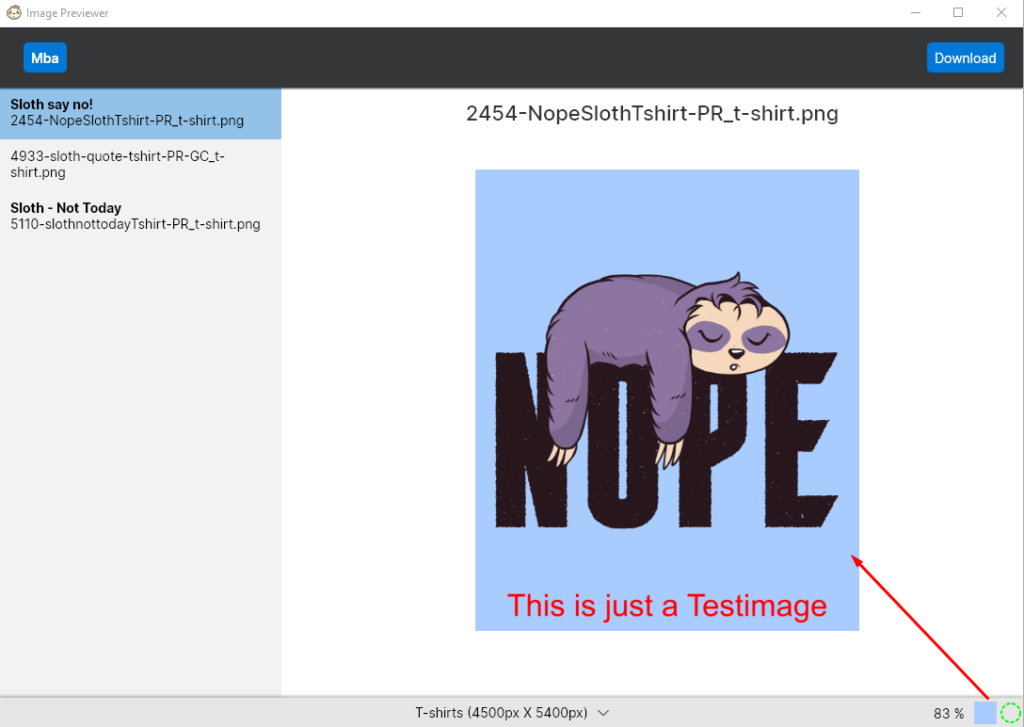
In the workspace of the tool you can click on the converter icon next to the search bar to open the preview window.
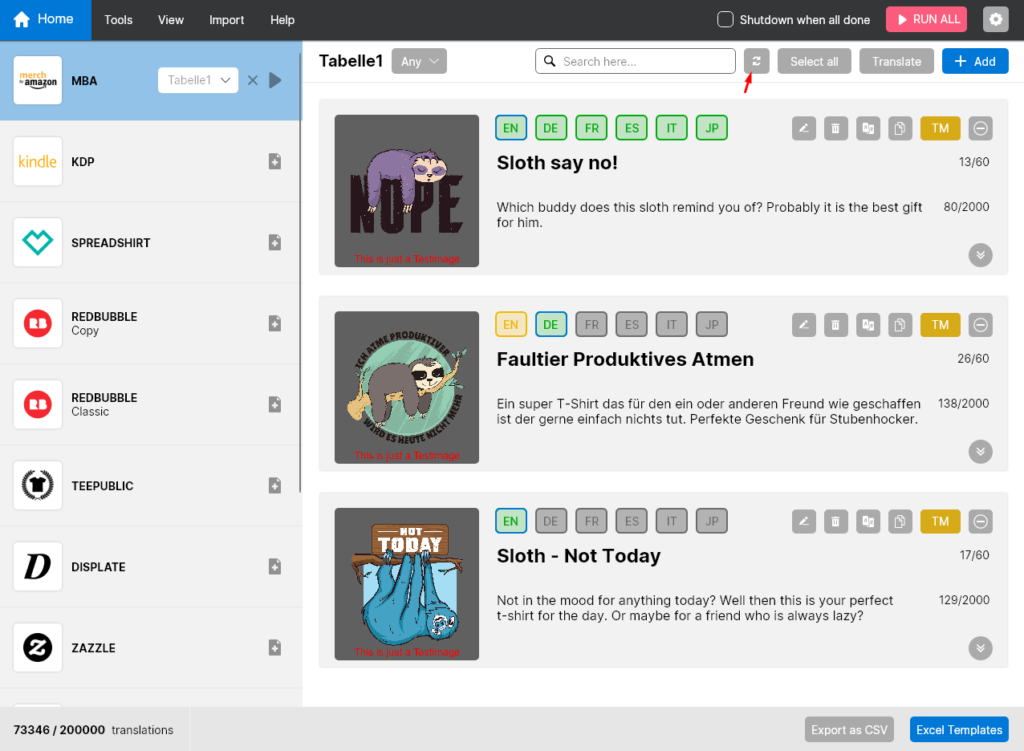
This will open the converter preview window where you will automatically see the platforms where you have already loaded a listing in our workspace. In the following example, this is only MBA, as this is the only platform for which we had added listings at that time.
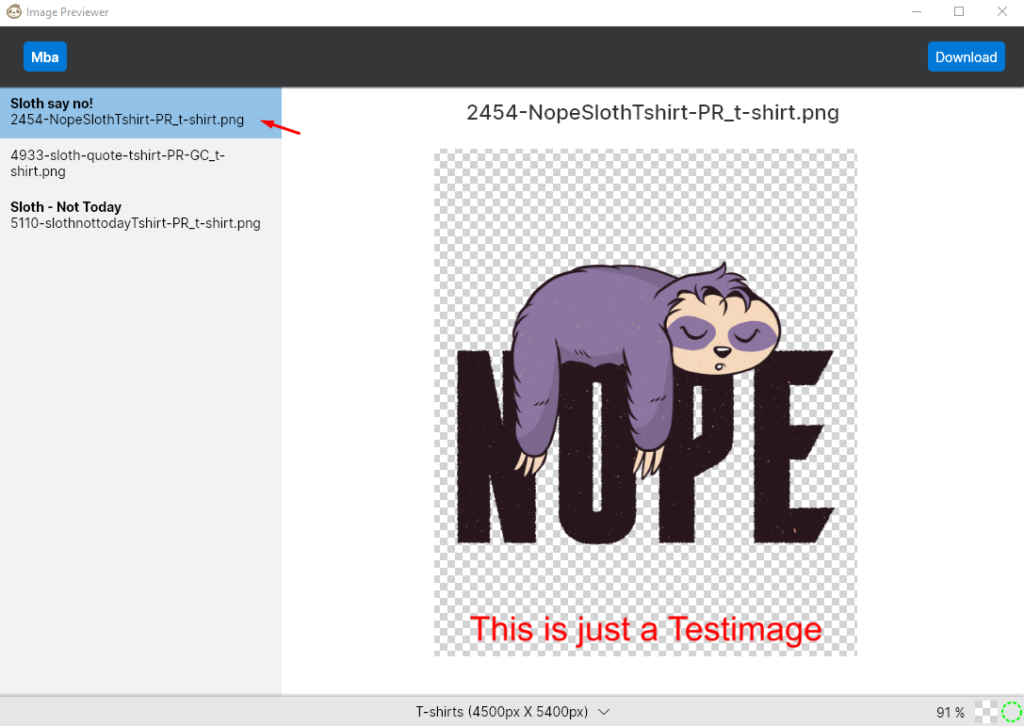
Select desired image
On the left side of the window you can select your desired design to view.
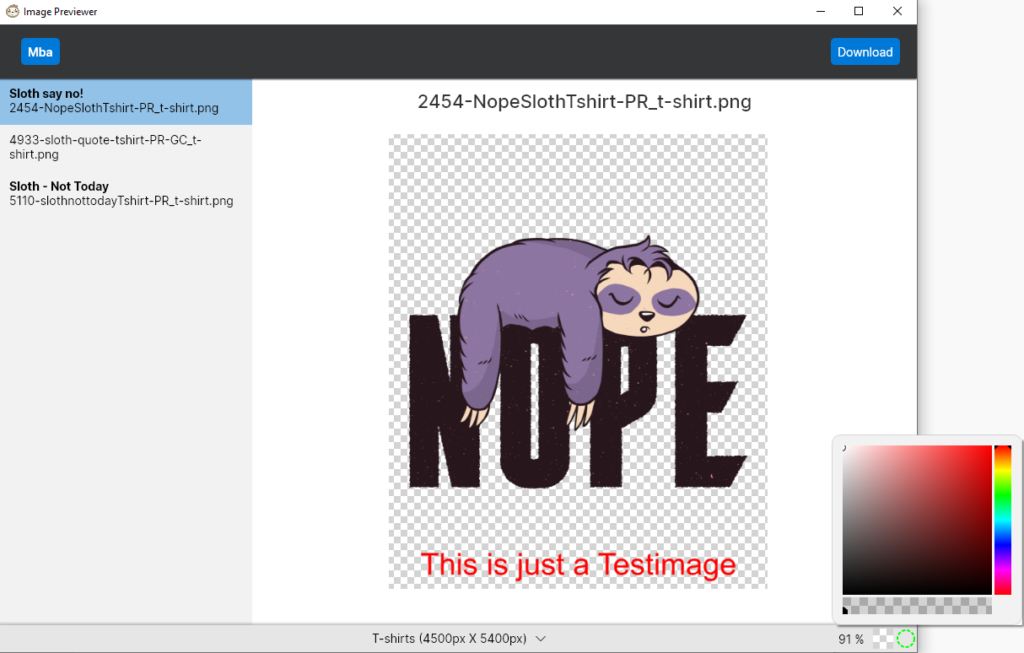
Customize background
Your design is hard to see? No problem, you can easily change the color to display your design better on the background. But be careful: this has no effect on the background of the image to be uploaded and converted. The background color is only for display purposes in the previewer window. You can change the color of the display background in the square at the bottom right, which opens a color picker after a click.
Select the desired product or resolution
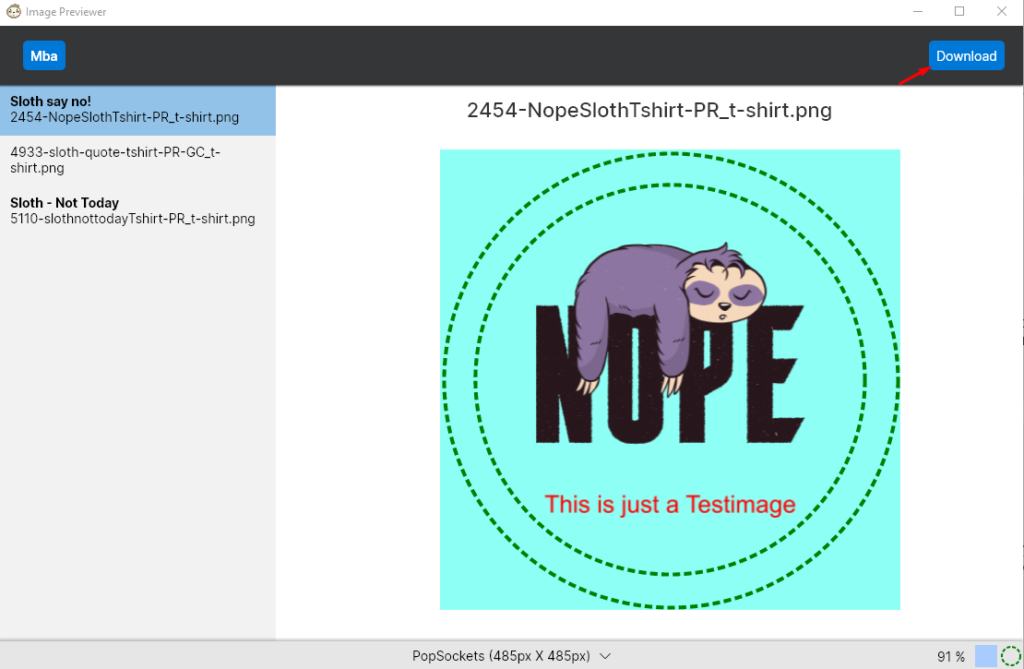
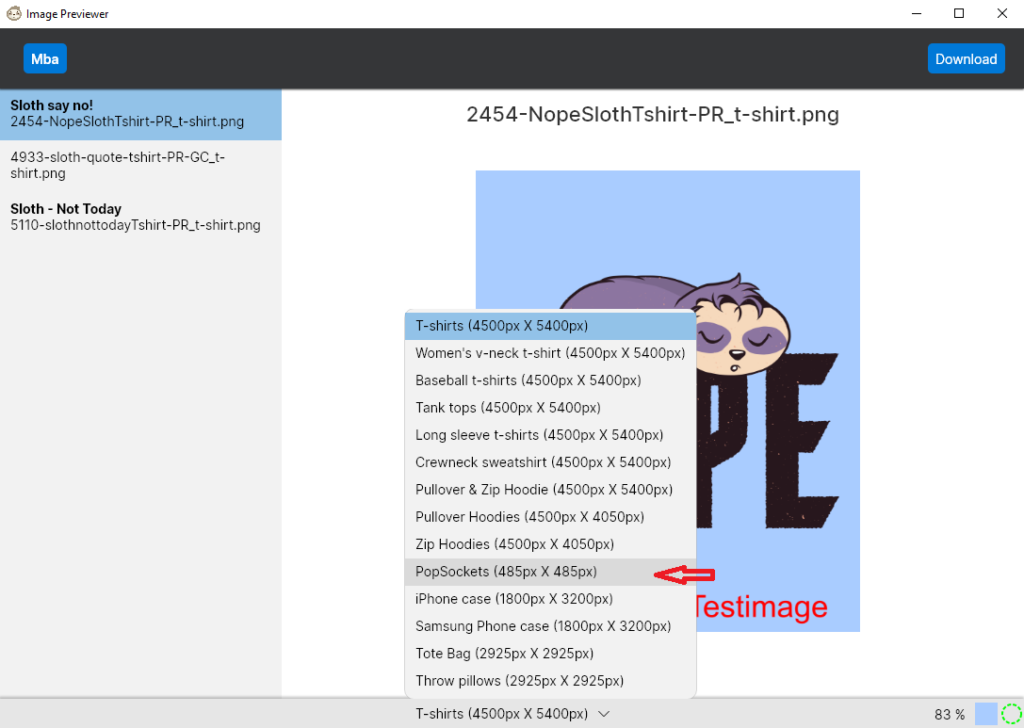
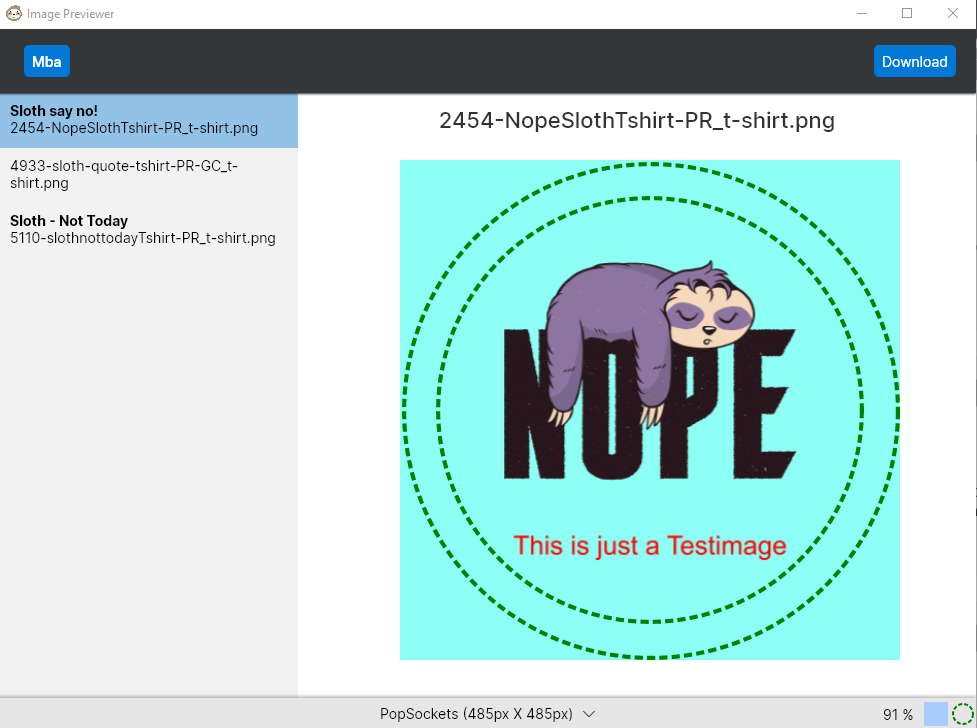
To check if your design is converted as desired, you can select your product or resolution in the previewer window. In the following example we choose Popsockets because we want to see how our design would look on Popsockets.
Check conversion
After we have chosen the desired product or resolution, we check if the design is within the print area. Usually, most products show the exact area, which is then uploaded that way. In our case we have chosen the Popsocket for which you can make settings in the LazyMerch MBA Settings and where you can see the print area in the preview image. This is so that you as a user can set exactly what size the design should have within the available circle. The inner print area, which can be seen on the above surface of the Popsocket, and the outer print area, which can be seen on the edges of the Popsocket, are shown by the dashed lines on the preview image. If the color of the dashed line, which signals the print areas, is not visible, you can select the desired color again via the color picker in the lower right corner.
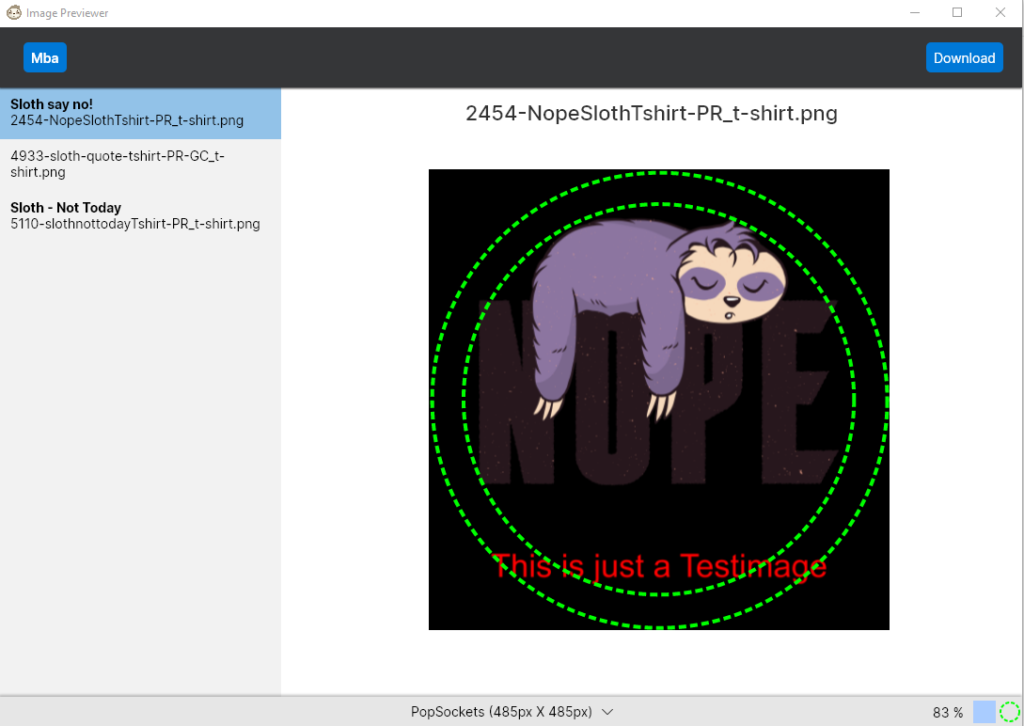
As you can see above the conversion setting wasn’t done well. Our design crosses the inner print area several times and the chosen background for the dark font is not optimal too. To change this, we leave the Converter Preview and go to MBA Settings, where we adjust our Popsocket conversion settings.
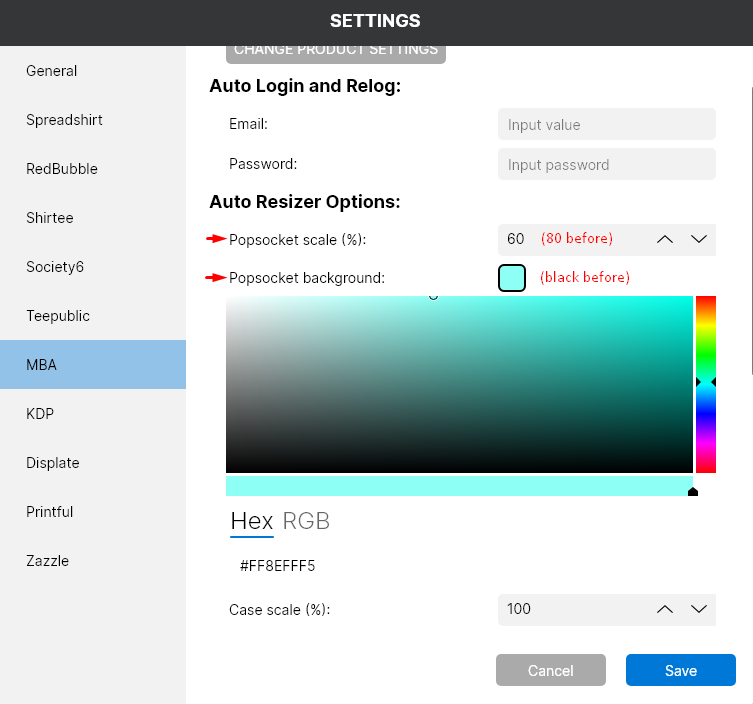
After changing the settings, we open the Converter Previewer again and select the preview for the popsockets. Now it looks better and the print areas are not exceeded.
Save preview file
Since LazyMerch automatically converts the designs during the upload it is not necessary to save the converted variants and specify them as path in LazyMerch. Here the paths of the original files are enough for us. If you still want to save the converted variants to keep them for later, you can do this with the “Save” button in the upper right corner. The screenshot is from our development phase, which is why you can still see “Download” here. This will be called “Save” at the latest when this feature is released. In any case, clicking on this button will save the preview that is currently displayed to your system in the corresponding resolution.